
Last updated November 21, 2026
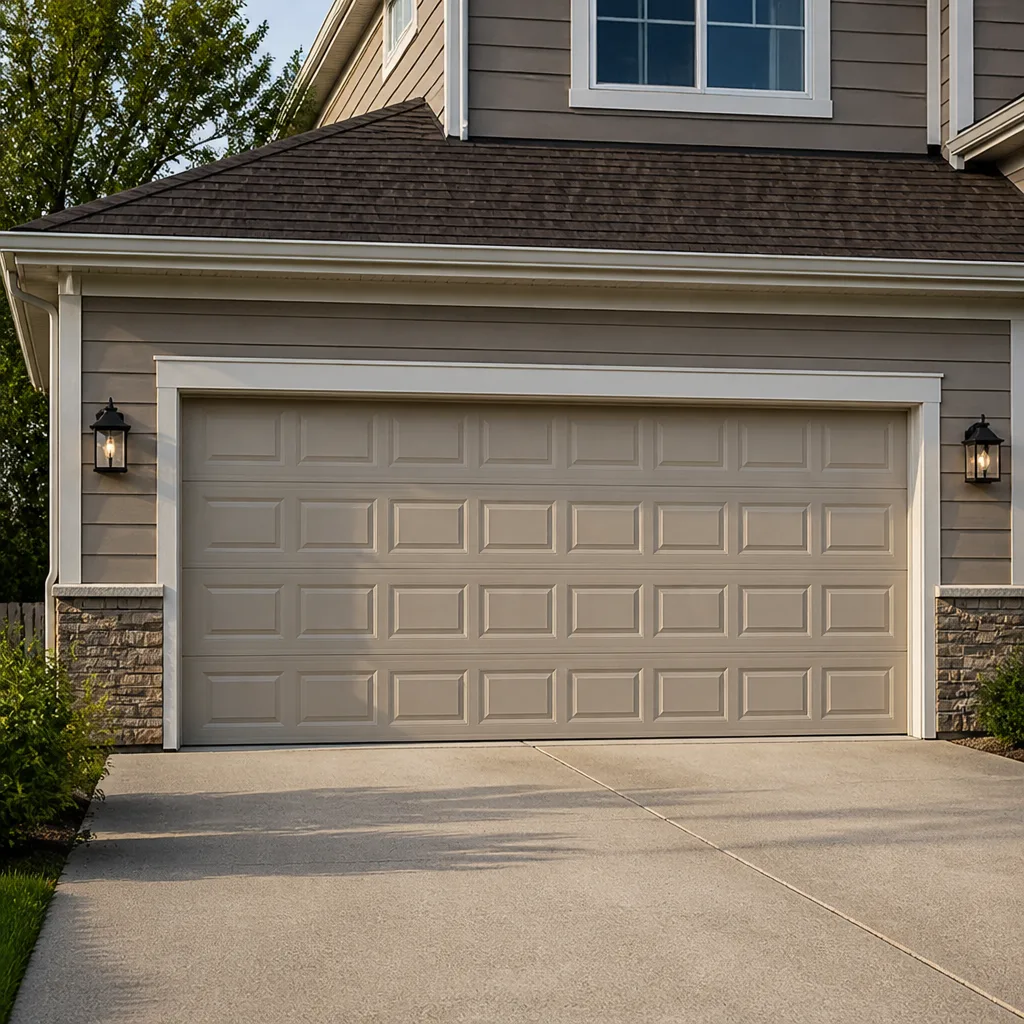 Raised-panel steel
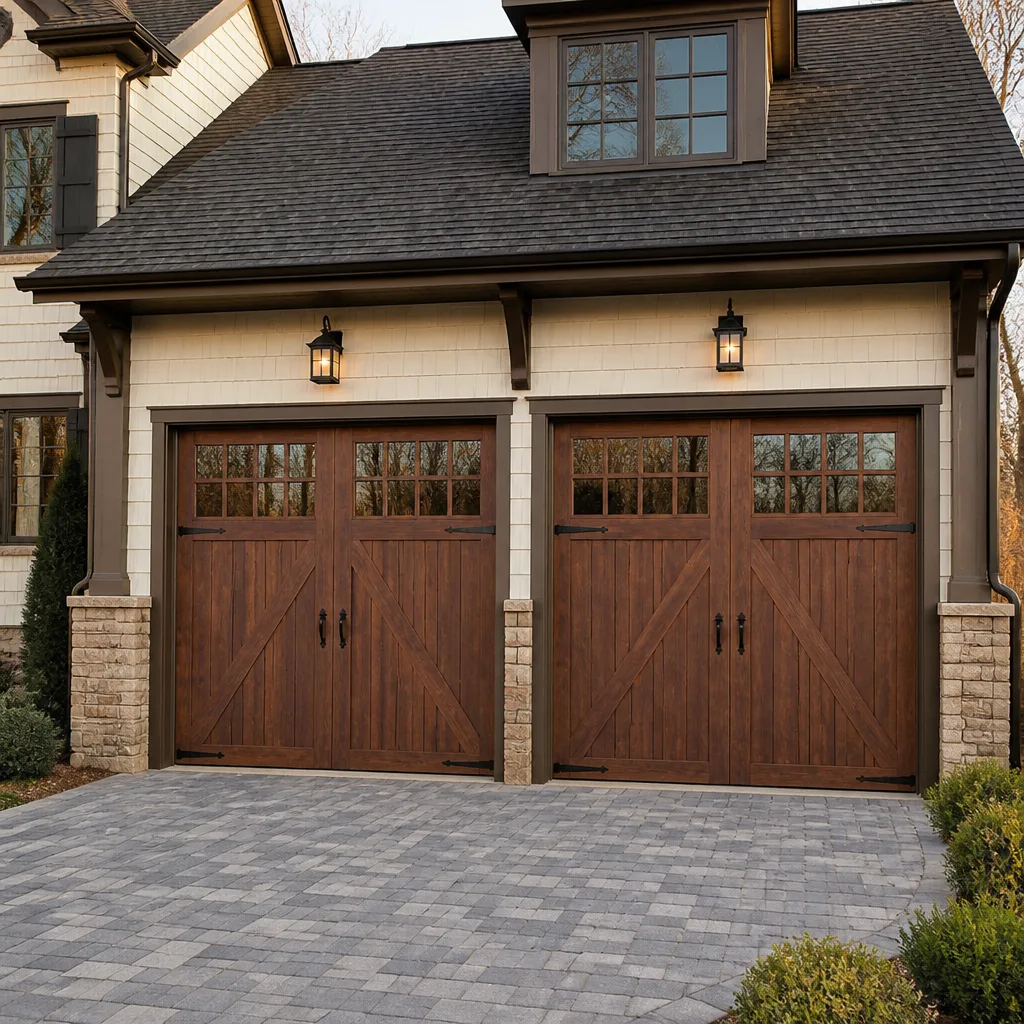 Carriage house
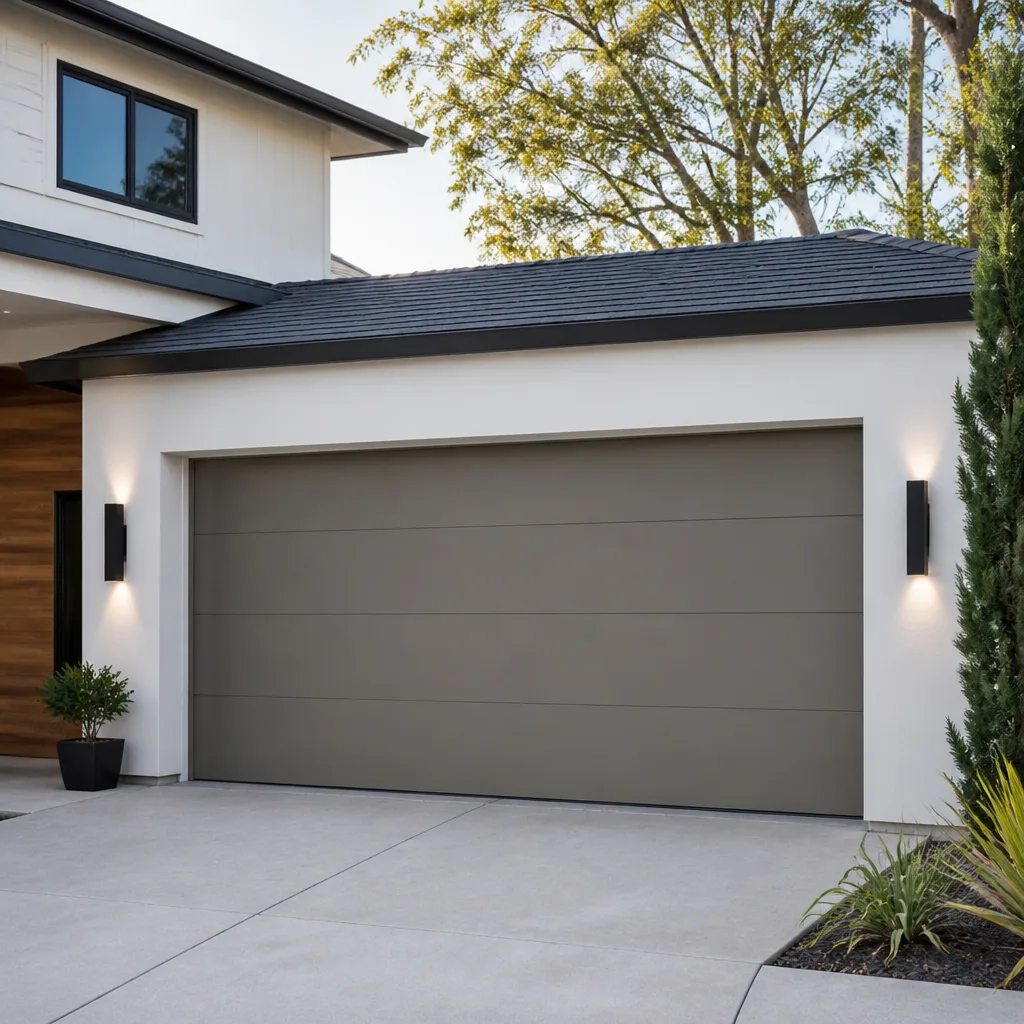 Modern flush
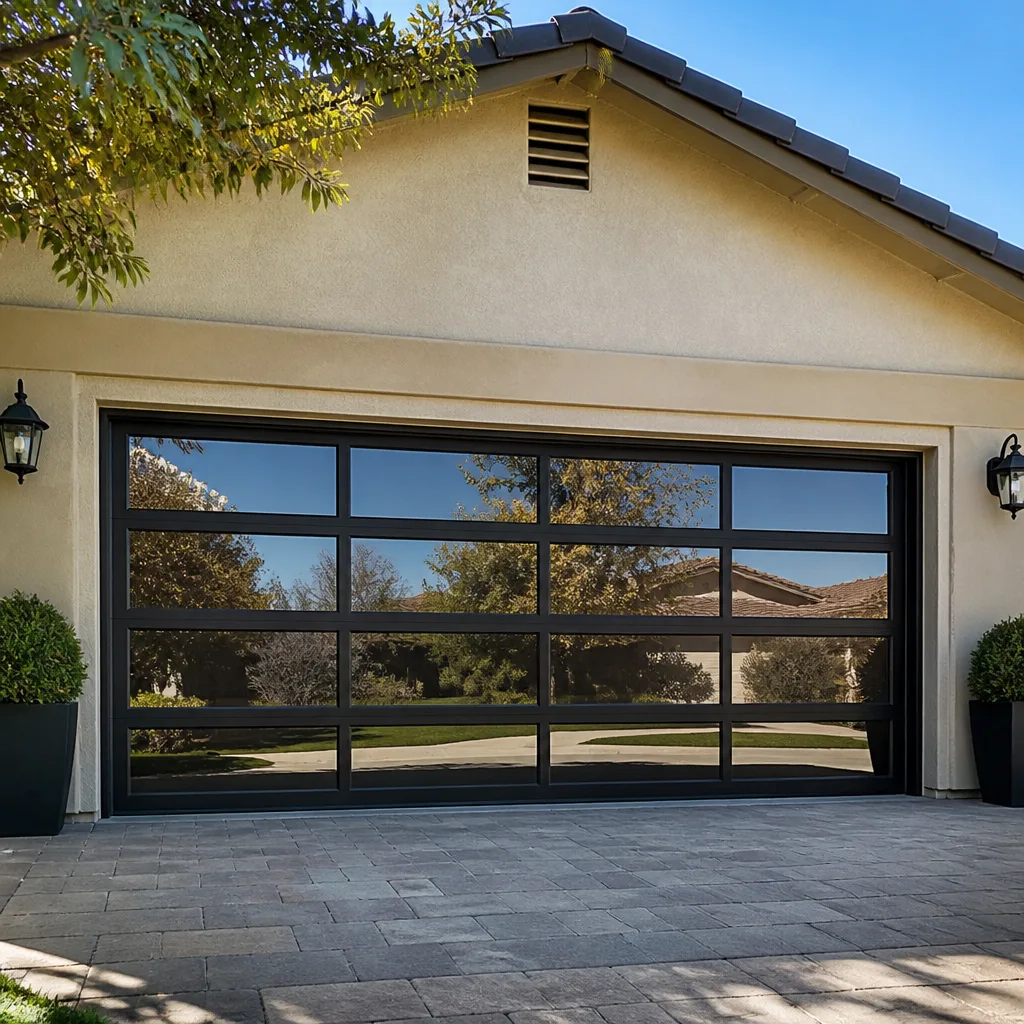 Full-view glass
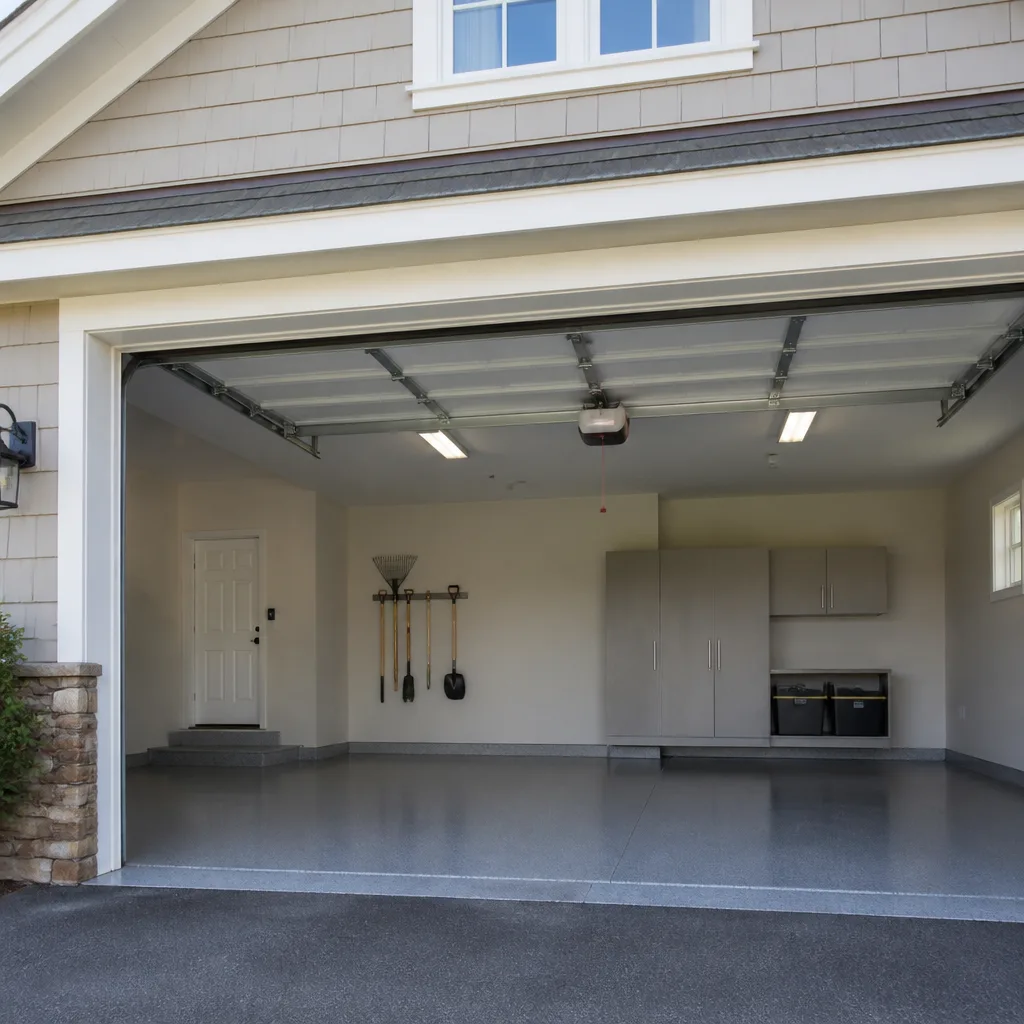 LiftMaster openers
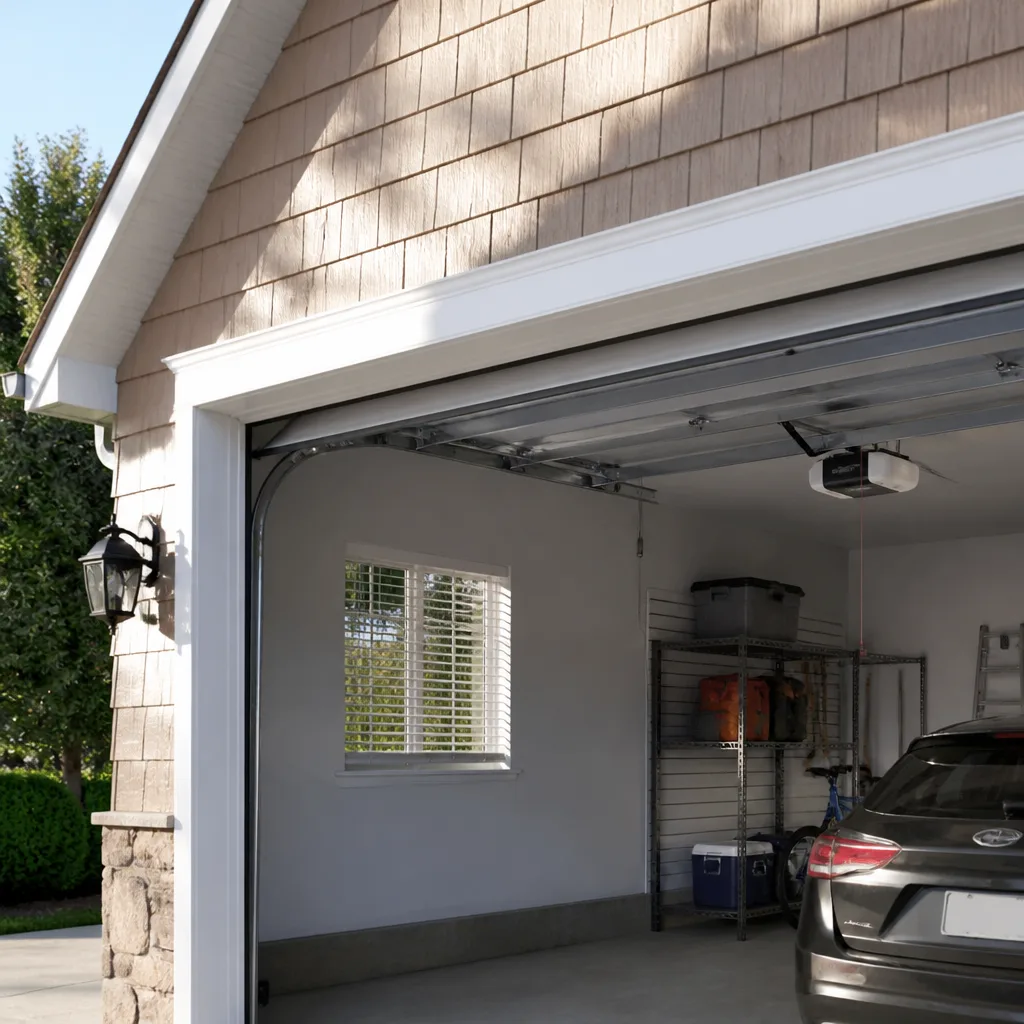 Chamberlain openers
Full 25-point door and opener safety check with every visit - springs, cables, rollers, tracks, and your LiftMaster or Chamberlain opener included
You get a price before we start. It does not change when the pro arrives.
Get your free estimateDIY vs Professional Garage Door: The Richmond Hill Homeowner’s Decision Guide
Most homeowners think the DIY-versus-professional question comes down to confidence. It doesn’t. It comes down to components. A torsion spring under tension can store enough force to break a hand or shatter a wrist if it lets go wrong, and no amount of tutorial-watching changes that physics. Other parts of your door – sensors, weatherseal, remotes, lubrication – are genuinely homeowner-appropriate and we’ll show you exactly which is which. This guide draws the line at the hardware level, not the confidence level, so a Richmond Hill homeowner can decide task by task rather than all at once.
Styles & brands we work with
- Raised-panel steel
- Carriage house
- Modern flush
- Full-view glass
- LiftMaster openers
- Chamberlain openers
Quick Answer
Safe DIY tasks on a garage door are limited to lubrication, photo-eye sensor alignment, remote and keypad programming, weatherseal replacement, and visual inspections. Springs, cables, track realignment under load, and any work requiring winding bars or a fully raised door should go to a technician, because a mistake there can cause serious injury in a single second. Everything in between – like opener installation – depends on your ceiling framing and wiring, and a trained professional is the right call when those aren’t simple.
Table of Contents
- Where the Line Actually Sits: Component by Component
- Genuinely Safe DIY Tasks for Richmond Hill Homeowners
- Why Springs and Cables Aren’t a DIY Fix
- The Tools Tell the Story: What Real DIY vs Pro Work Requires
- What DIY Gone Wrong Really Costs
- Permits, Home Sales, and DIY Work in Richmond Hill
- Is Opener Installation a DIY Job? Sometimes
- Common Mistakes to Avoid
- When to Call a Professional
- Frequently Asked Questions
- The Bottom Line
Where the Line Actually Sits: Component by Component
The safest way to think about garage door work is to separate every component into two buckets: parts where a mistake means the door doesn’t work, and parts where a mistake means someone gets hurt. That distinction is more useful than a skill-level judgment, because a homeowner can be perfectly skilled with a wrench and still be putting themselves in danger by touching a wound torsion spring.
Here’s how we break down the main components you’ll find on a typical Richmond Hill home’s garage door:
- Lubrication and hardware tightening – Homeowner-appropriate with a ladder and the right lubricant.
- Photo-eye sensors and alignment – Homeowner-appropriate; most sensor issues are positioning or obstruction.
- Remote, keypad, and opener programming – Homeowner-appropriate; the manual for your LiftMaster or Chamberlain opener covers this well.
- Weatherseal and bottom rubber replacement – Homeowner-appropriate; cuts easily, installs with basic hand tools.
- Panel cosmetics and paint – Homeowner-appropriate on steel and aluminum panels.
- Springs (torsion or extension) – Professional only. High injury risk.
- Cables, drums, and winding cones – Professional only. Load-bearing and dangerous.
- Track realignment with the door under tension – Professional only, unless the door is completely down and disconnected.
- Opener motor or circuit board replacement – Professional is the safer call.
- Hinge, roller, and bracket replacement on a load-bearing side – Professional recommended.
The parts that fall on the professional side of this list have three things in common: they store or transmit force, they’re under load, and they can release that load suddenly with no warning. The parts on the homeowner side don’t. That’s the whole test. If a job requires you to relieve tension from the door to do it, treat it as a professional job.
We work on the brand already in your garage, so when a technician arrives, they arrive familiar with the exact hardware on your door rather than having to reverse-engineer it first.
Genuinely Safe DIY Tasks for Richmond Hill Homeowners
There are real, worthwhile jobs you can do yourself, and doing them keeps a door running smoothly without a service call. Here’s the short list and how to think about each one:
- Lubricating hinges, rollers, and springs – Use a garage-door-specific lubricant, not WD-40 as a substitute. Wipe the old grease before applying new. Two light applications a year keep a door quieter and reduce strain on the opener.
- Cleaning and aligning the photo-eye sensors – The pair of small lenses near the floor should face each other and be free of cobwebs, snow, or leaves. Realign by hand until the wall unit’s indicator light glows steady.
- Programming remotes and keypads – Every modern opener, including LiftMaster and Craftsman models, has a “learn” button on the motor head that pairs a remote in under a minute. Your owner’s manual has the exact sequence.
- Replacing the bottom weatherseal – A cracked rubber seal lets in drafts, road salt, and water. Cut a new length, slide it into the retainer track, trim the ends square.
- Tightening loose bracket bolts – With the door fully closed and the opener disconnected, a loose hinge bolt can be snugged up with a socket set. Use a light hand; over-tightening strips the bolt.
- Visual inspections – Look at the springs for gaps or rust. Look at the cables for fraying. Look at the track for dents. Inspections are free and catch problems early.
These six tasks cover most of the routine maintenance that keeps a residential door reliable. Richmond Hill’s cold winters are hard on weatherseal and hinges, so an inspection in the fall pays for itself before the first ice.
Why Springs and Cables Aren’t a DIY Fix
Garage door springs are the single highest-risk component on the door, and they’re the exact place where first-time DIY attempts cause the worst injuries. A torsion spring is wound under significant tension when the door is closed; when it’s wound, it’s storing enough energy to lift a door that weighs well over a hundred pounds. Winding or unwinding that spring by hand means working directly against that stored energy with a metal bar, from a ladder, in a tight space.
The failure mode is silent and instant. A spring that lets go under a hand or face has no warning. Extension springs, common on older doors, can snap and whip toward whatever is in the way unless they’re equipped with a containment cable – and even then, replacing them by yourself is dangerous. Cable-related work has the same problem: cables carry the door’s weight and any slip can take fingers or worse.
Springs are not a DIY fix – that’s the clearest line in this entire guide. What a trained technician does is different from what a homeowner reasonably can: they use a specific sequence, a matched pair of winding bars, a ladder staged safely, and they check the door’s balance afterward to confirm the spring is the right weight for the door. If the door’s existing spring label is faded or the door has been re-hung at some point, the technician also verifies the current spring is matched correctly, which prevents the premature failure that a wrong-size spring causes.
For Richmond Hill homeowners, we offer spring repair as a standing service – it’s not an add-on we hand off to a generalist. If a spring has already given out and the door won’t open, that’s a situation garage door repair Richmond Hill answers directly. Call (833) 508-9368. We answer 24/7, with fast dispatch from 7am to 7pm, Sunday through Friday.
The Tools Tell the Story: What Real DIY vs Pro Work Requires
You can often tell whether a job is homeowner-appropriate by looking at the tools it requires. If a job needs only what’s already in your toolbox, it’s probably safe to attempt. If it needs a tool you’d have to buy specifically for this job and would never use again, that’s a sign the job has crossed into professional territory.
Safe-DIY task tools:
- Adjustable wrench or socket set for bracket bolts
- Screwdriver set for opener covers and sensor brackets
- Ladder (sturdy step ladder, not a folding chair)
- Garage-door-specific spray lubricant
- Utility knife for weatherseal trimming
- Owner’s manual for your opener
Professional-territory tools:
- Winding bars (two, matched; nothing else substitutes)
- Cable clamps and locking pliers rated for the load
- Spring gauge to verify the correct wire size and inside diameter
- Vise grips used as locking pliers on the torsion shaft
- Torque wrench for specified bracket values
- Two-person lifting equipment for panels and full doors
The winding bars are the clearest signal. They exist for one purpose: to safely wind and unwind a torsion spring. If you’re buying or borrowing winding bars, you’ve crossed the line. That’s not a comment on your ability; it’s a comment on what those tools do and how quickly a mistake with them can go wrong.
What DIY Gone Wrong Really Costs
The obvious cost of a failed DIY job is the repair bill. The less obvious costs are usually bigger. Here’s what we’ve seen homeowners actually lose when a garage door DIY job goes sideways, and it’s rarely just the dollar figure on the parts:
- Voided manufacturer warranty – Most major brands – Clopay and Raynor included – void their door warranty when a non-authorized installer removes or replaces a load-bearing component. A $250 spring job can wipe out a warranty worth far more than the spring.
- Bent track requiring full replacement – Track realignment done wrong under load often bows a vertical track past straightening. A new set of tracks and re-hanging the door can cost several times what a single adjustment would have.
- Opener motor damage from a misbalanced door – A door that won’t balance correctly forces the opener to lift more than it should. A motor burned out from that extra load usually needs replacement, not repair.
- Liability if someone gets hurt – If a family member is injured by a component you worked on, your homeowner’s policy may not cover an injury tied to unpermitted or improperly completed work. This is worth a call to your insurer, not a guess.
- A second repair person’s bill – Anything you take apart and can’t finish, a technician has to reassemble before starting the actual fix. You pay for both visits.
Those costs scale with the difficulty of the job. A misaligned sensor costs nothing to reset. A miswound spring can cost a warranty, a door, and a hospital bill. When you weigh the two realistically, the safe DIY list stays short on purpose.
Permits, Home Sales, and DIY Work in Richmond Hill
Permits are less of an issue for a straight garage door replacement than they are for structural or electrical work, but they still matter in specific situations: if a new door changes the opening size, if the opener requires an electrical line run to a new location, or if the job involves structural framing around the door opening. Most cities require a permit for structural work and electrical runs, so ask Richmond Hill’s building department directly before you touch anything that changes those systems.
Where permits come back into play at sale time: many home inspectors flag unpermitted structural or electrical work, and a buyer’s attorney may ask for proof that permitted work was inspected. That doesn’t mean every garage door job needs a permit – far from it. It means knowing which jobs do and which don’t, and keeping records of anything inspected.
The practical habit that saves a Richmond Hill homeowner grief later is simple: keep a folder. Photograph the door and opener before and after any work. Keep the receipt for parts and the technician’s written estimate for anything you had done professionally. If you buy a new door and it comes with a warranty, keep that too. When you sell, a folder with those records moves faster through an inspection than a verbal account of what was done.
For an installation or a replacement door, that folder becomes part of the value of the home. That’s especially true for a Clopay or Amarr installation where the door warranty transfers – buyers look for that documentation.
Is Opener Installation a DIY Job? Sometimes
Opener installation is the middle case. It’s genuinely manageable for a homeowner when three things line up: the new opener replaces an old one in the same spot, the ceiling framing already has a crossbar in the right place, and there’s an existing electrical outlet within reach of the motor head. If those three conditions hold, a careful homeowner with a helper can swap an opener over a weekend using the manual’s step sequence. Craftsman and LiftMaster manuals, in particular, are usually clear enough to follow.
Opener installation crosses into professional territory when any of the following is true:
- New framing is needed – If the ceiling has no crossbar or the existing crossbar isn’t rated for the new opener’s weight, the bracket has to be reinforced. That’s framing work, not plug-and-play.
- New wiring is required – A new outlet or a new hardwired circuit means electrical work, usually with a permit. That’s a licensed electrician’s job in almost every case.
- The door has a safety reverse requirement that needs testing – Modern openers need the safety reverse and photo-eye system tested carefully after install. Testing is doable, but you have to know exactly what a passing test looks like.
- It’s a jackshaft or wall-mount opener – These mount differently, need a torsion bar to drive, and are far more finicky about alignment than a ceiling-mount opener.
- The door itself needs hardware changes – New opener, old hardware is often the wrong pairing. Reinforcement brackets on the door panels are often needed.
We handle garage door opener repair across smart-home-integrated and legacy systems, so if your new opener isn’t behaving with the old remotes or wall button, the diagnosis usually takes less time than a homeowner trying to work it out from a manual alone. If you’re weighing a new opener against a repair, our team can assess which is the better long-term call at the same visit.
Common Mistakes to Avoid
- Buying a replacement spring “to size” from the old one – Springs are matched to door weight and cycle life, not just length. An under- or over-weight spring sags the door and wears the opener faster. Let a technician match the spring.
- Adjusting the opener’s force setting to compensate for a struggling door – A door that needs more force is telling you something is binding. Increasing the force setting masks the problem and strains the motor and the panels.
- Removing the door’s safety cable on an extension-spring setup – That cable is what keeps a failed spring from whipping into the garage. Never remove it to “clean up” the installation.
- Assuming a photo-eye fault means the sensors are broken – The most common cause in a Richmond Hill winter is a lens fogged with condensation or covered in snow splash. Clean and realign before buying new sensors.
- Storing a garage door partially open over the winter – Leaving a door cracked for weeks strains the springs unevenly and lets drafts into the garage. If you need the space for storage, open it fully or not at all.
- Skipping a post-winter inspection – Richmond Hill winters stress the door more than summer does. Frozen ground, road salt spray, and ice damming at the weatherseal all show up as worn parts in spring.
- Ignoring a “sticking” door that’s actually binding – If you have to nudge the door to get it moving, a roller or hinge is binding. It gets worse, not better, and it wears the opener.
When to Call a Professional
Call a professional for anything spring- or cable-related, for track realignment on a loaded door, for opener faults that come back after a reset, and for any job that requires lifting or supporting the full weight of the door. Also call if the door has been hit by a vehicle or has come off a track – those situations can be genuinely dangerous to diagnose by hand. If the door needs to be replaced rather than repaired, garage door installation done right matters more than the one-time savings of doing it yourself.
For emergencies – a door stuck open and exposing the house, a door jammed shut with a car inside, a spring that’s already snapped – our team is set up to respond. Garage Door Repair Richmond Hill offers free estimates in Richmond Hill. Call (833) 508-9368. We answer 24/7. Fast dispatch from 7am to 7pm, Sunday through Friday. Our technicians have up to 12 years of experience, and every price is quoted and agreed in writing before any work starts.
Frequently Asked Questions
No, and please don’t try. A wound torsion spring is under significant force, and a single slip can cause a serious injury with no warning. Springs should only be replaced by a technician with winding bars and the training to use them safely.
Typical repair ranges for a one-spring replacement run roughly $180 to $340, a matched pair is about twice that, and opener diagnostics usually run in the $95 to $180 range. A written estimate sets the final price after the technician is on site, and we confirm the price before any work begins. Call (833) 508-9368 for an exact quote – estimates are free.
No, not after we’ve written the estimate. The number on the written estimate is the price for that scope of work. If we find something the estimate didn’t cover – a bent track we couldn’t see from the driveway, for example – we’ll show you before doing anything and re-quote.
The local pros we connect you with are licensed and insured as their state requires. We can work with your insurer if a claim is involved, and we can document the repair for your records.
For urgent situations – a door stuck open, stuck shut, or with a snapped spring – we dispatch same-day whenever possible. Call (833) 508-9368. We answer 24/7. A call outside dispatch hours is booked into the next opening, Sunday through Friday, 7am to 7pm.
It depends on the door’s age, the number of broken components, and whether the panels are in good shape. A single spring or opener fault on an otherwise solid door is worth repairing. A door with panel damage, bowed track, and worn springs is usually better replaced, and our team can assess both options in one visit without pushing the larger job.
The Bottom Line
The DIY vs professional question on a garage door comes down to components, not confidence. Lubrication, sensors, weatherseal, and remote programming are yours to handle – do them and your door lasts longer. Springs, cables, track under load, and any job that requires winding bars or relieving tension belong to a technician, because the injury risk in that work can’t be trained away. Keep records for permits and warranty purposes, and let an experienced team handle anything on the wrong side of the line. For those jobs, garage door repair from a brand-trained crew shortens the time to a working door and keeps the warranty intact.
If you’re not sure which side of the line a specific task falls on, call (833) 508-9368 for a free estimate. We’ll tell you honestly what’s worth doing yourself and what needs a technician.
Written by the team at Garage Door Repair Richmond Hill.
See the difference
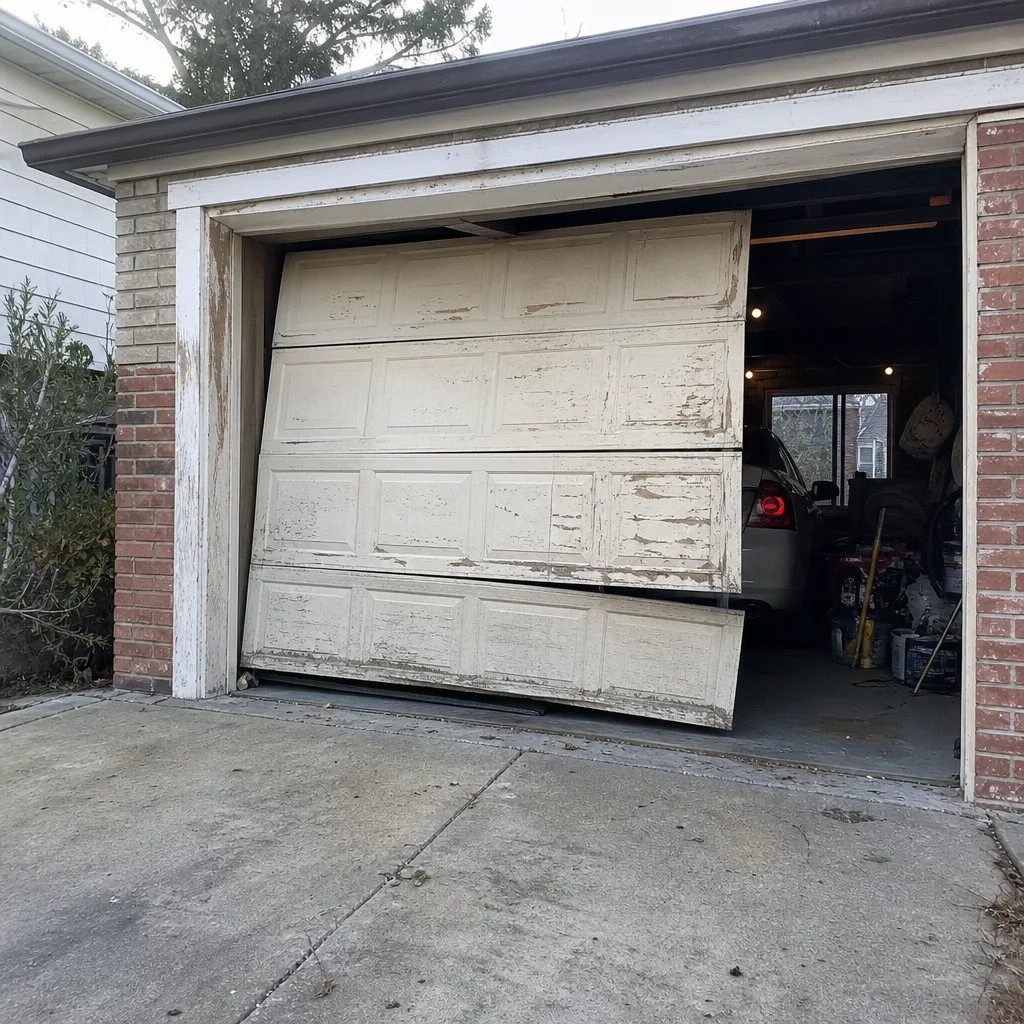 Before
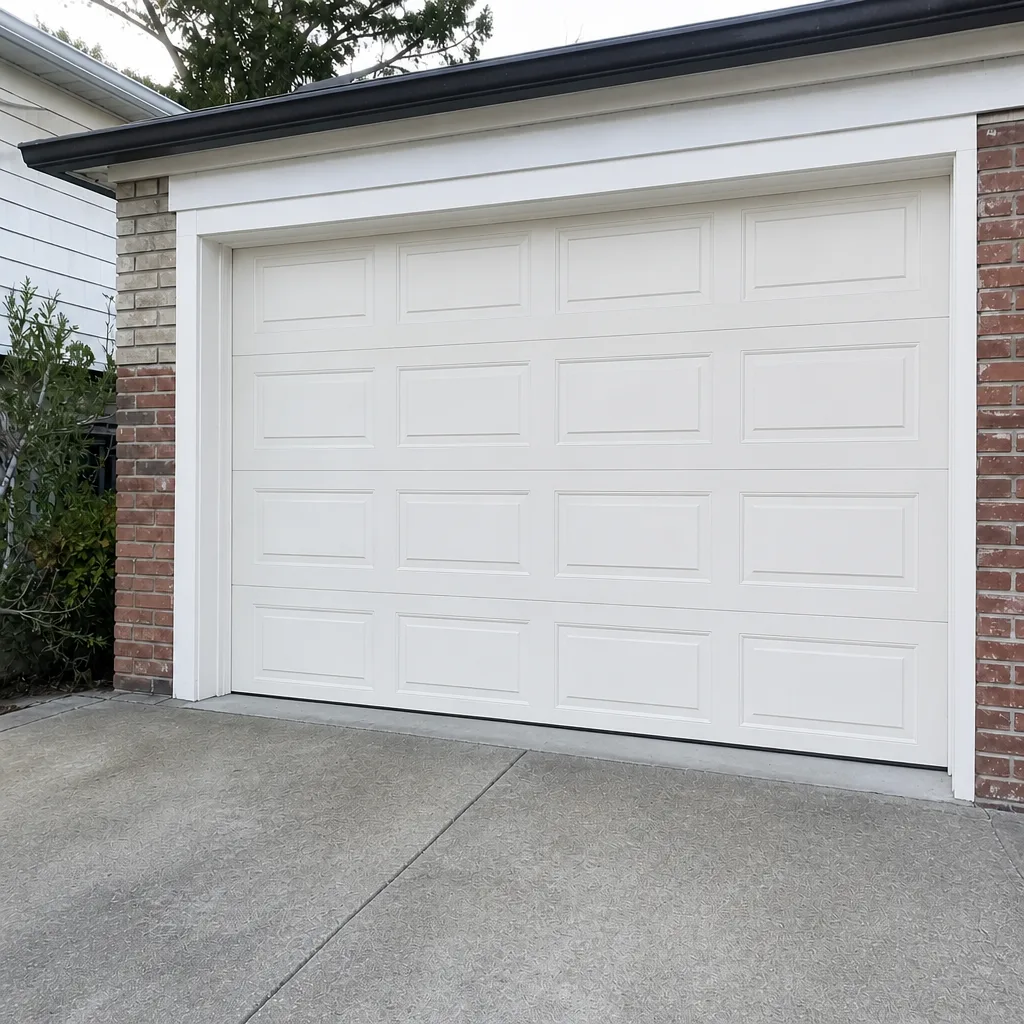 After
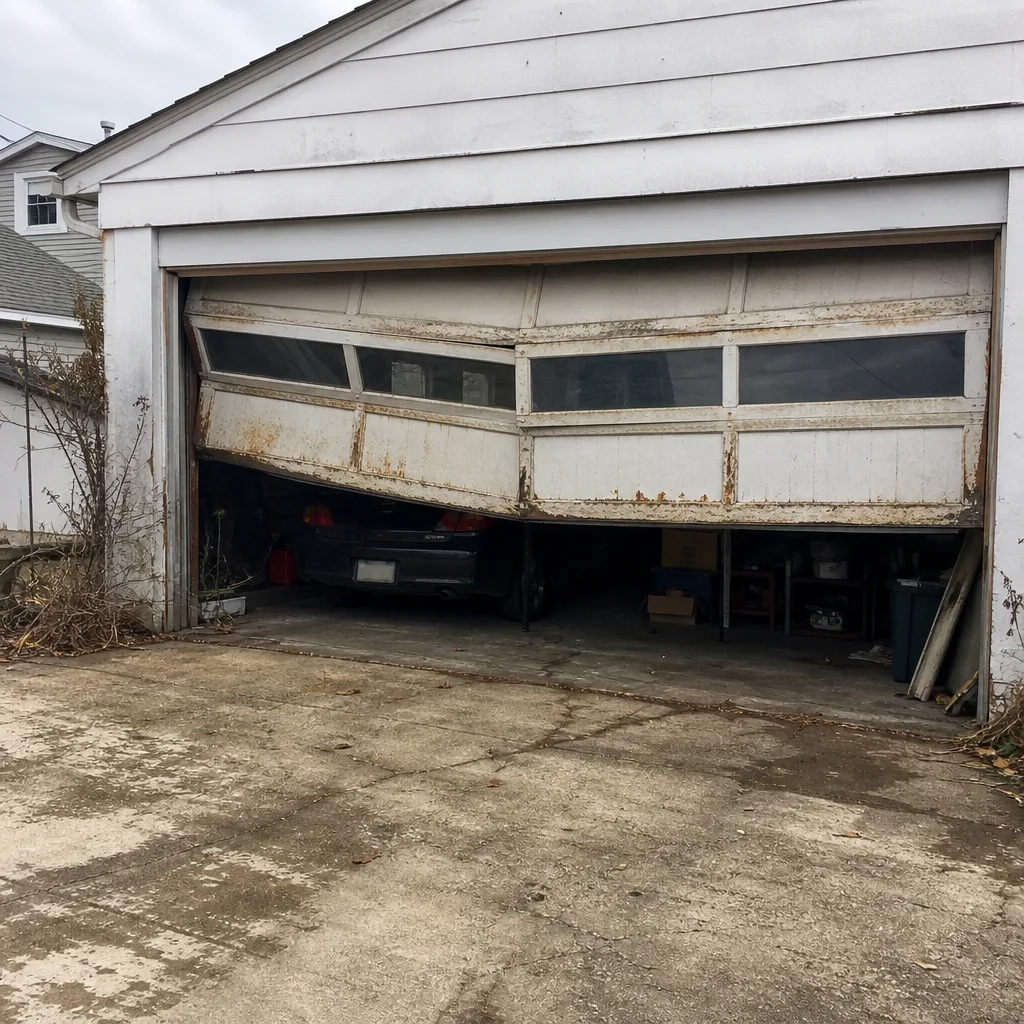 Before
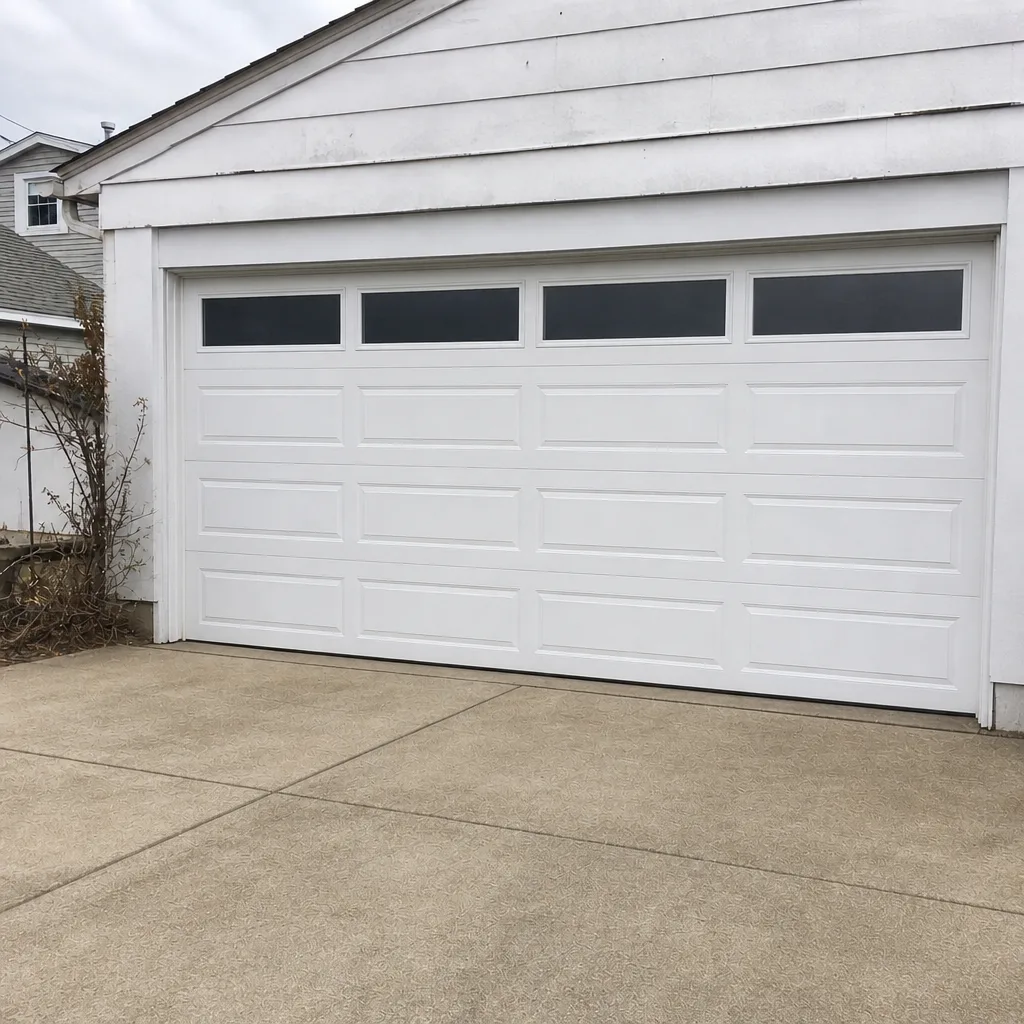 After
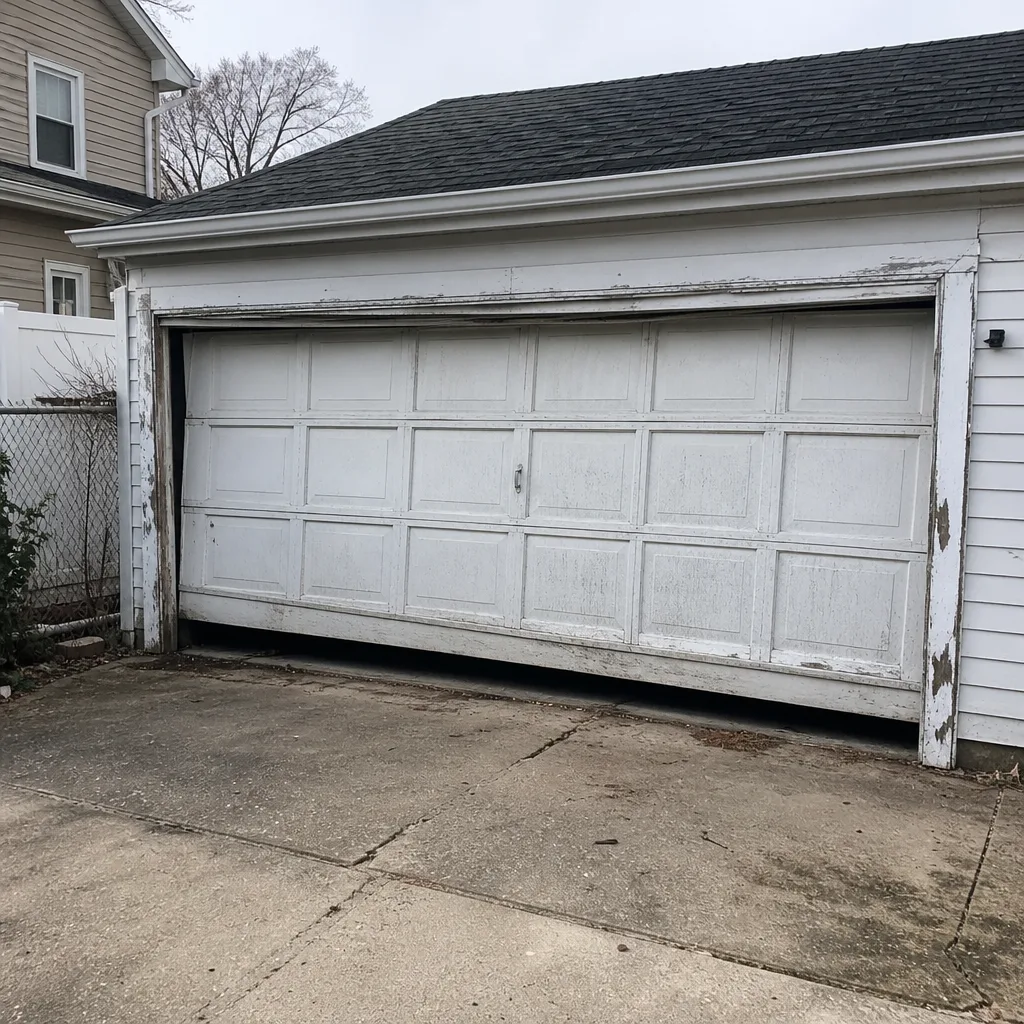 Before
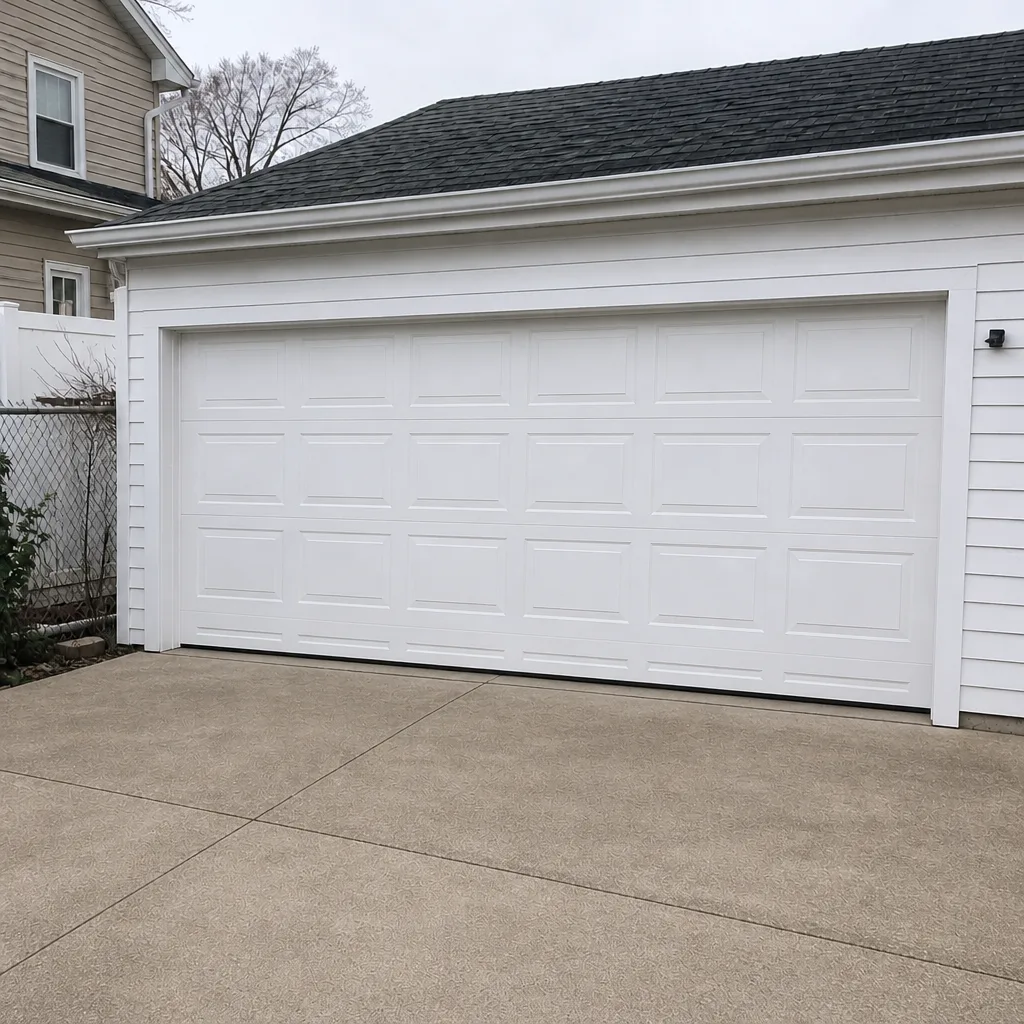 After